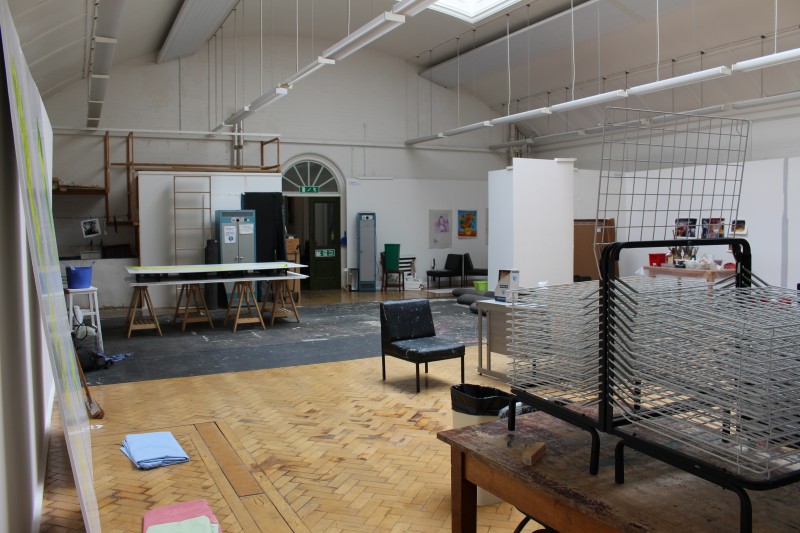
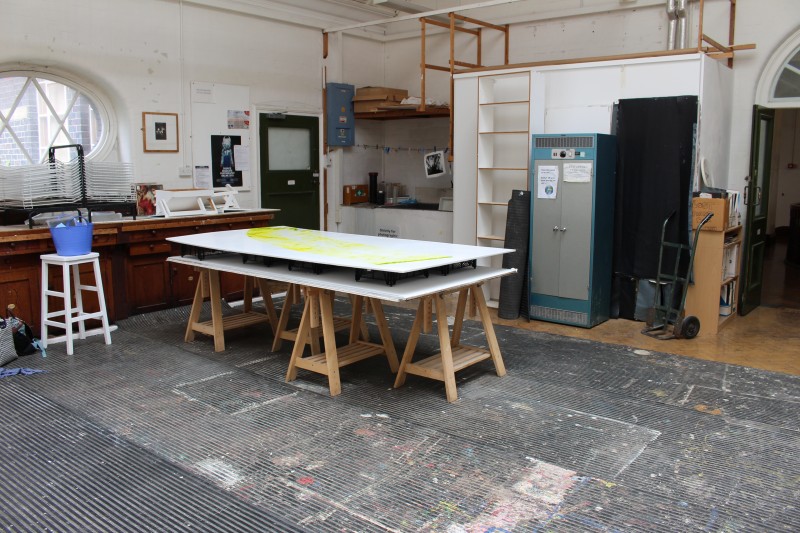
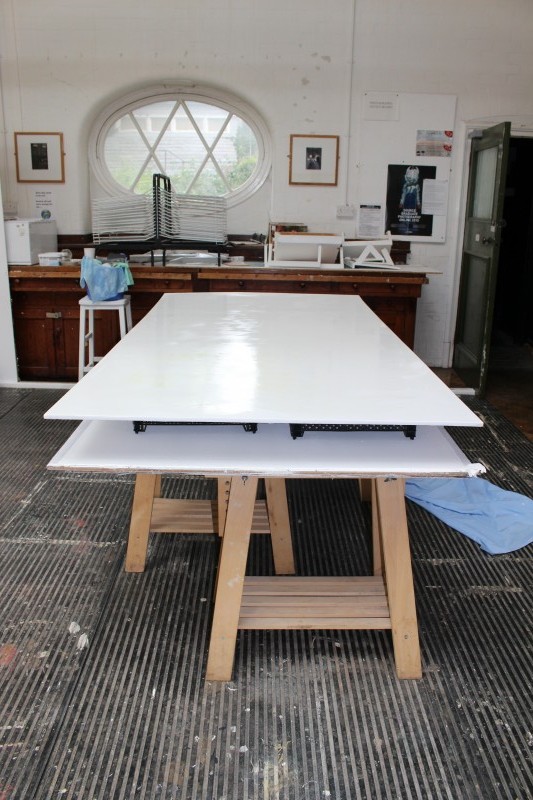
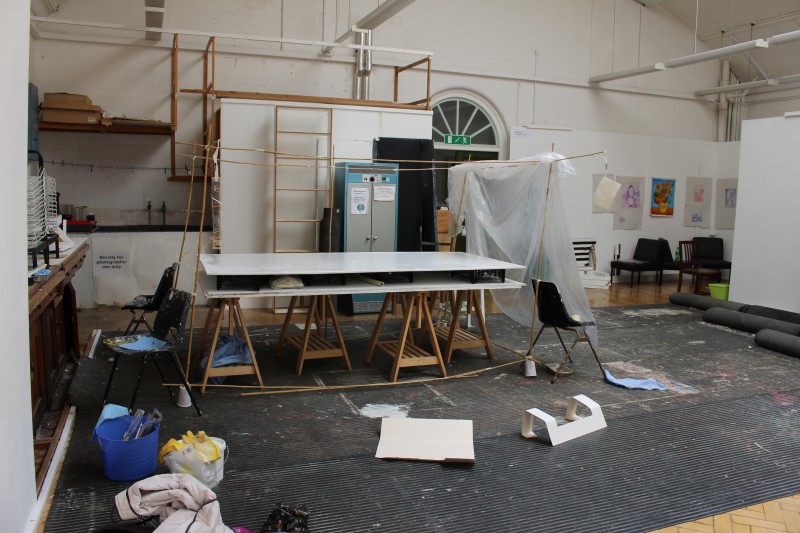
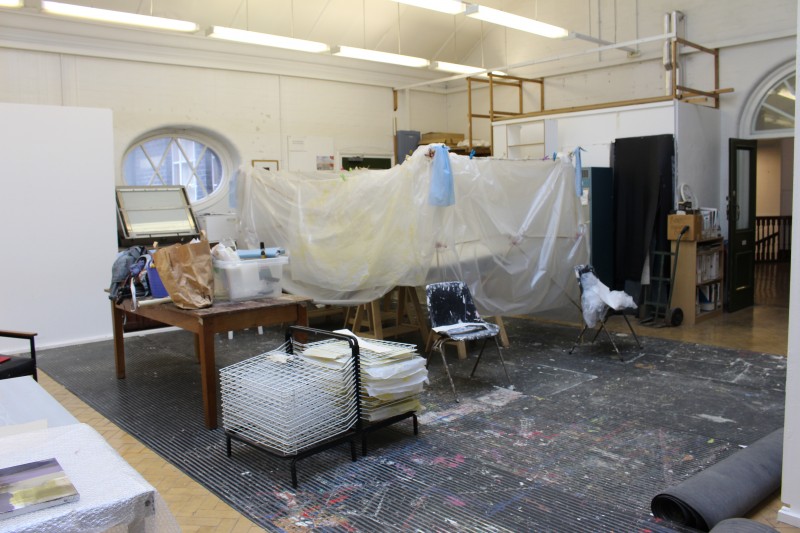
Once the decision had been made to rework one of the boards (from the triptych which had been produced for Exhibition 1), it was necessary to find a space large enough for the reworking of the surface. Fortunately an area of Room 306 at the School of Art was made available and the work station was set up by Phil, who deserves many thanks for his help and patience.
Considerable effort was required to remove the original pigment. Traces remained even after a couple of weeks attention. The old pigment had to be removed to avoid its seeping through into the new pigment process. It was surprising how soluble the old dry pigment became when water was present.
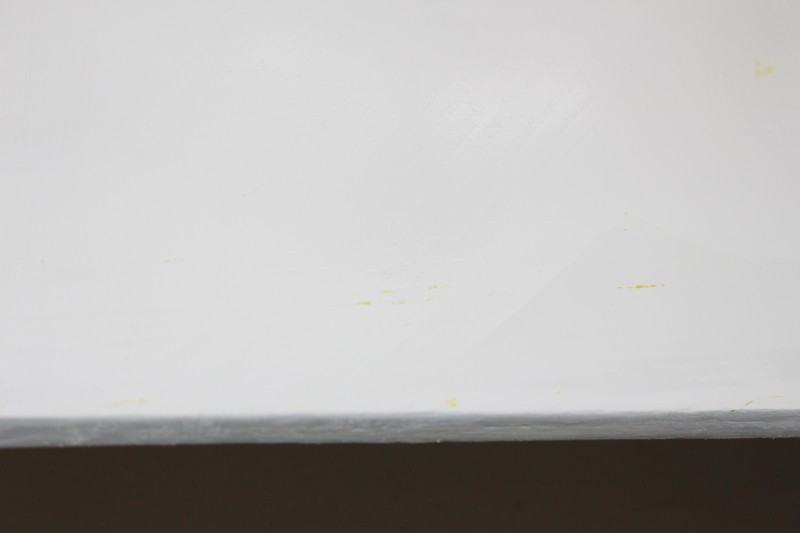
Each edge was also abraded and gesso reapplied and polished to produce a clean, flat surface. A sheen gradually became evident on both the upper surface and edges. Following each abrasive treatment, the surfaces were thoroughly washed with water. Undulations became visible as they were caught by natural and studio lights.
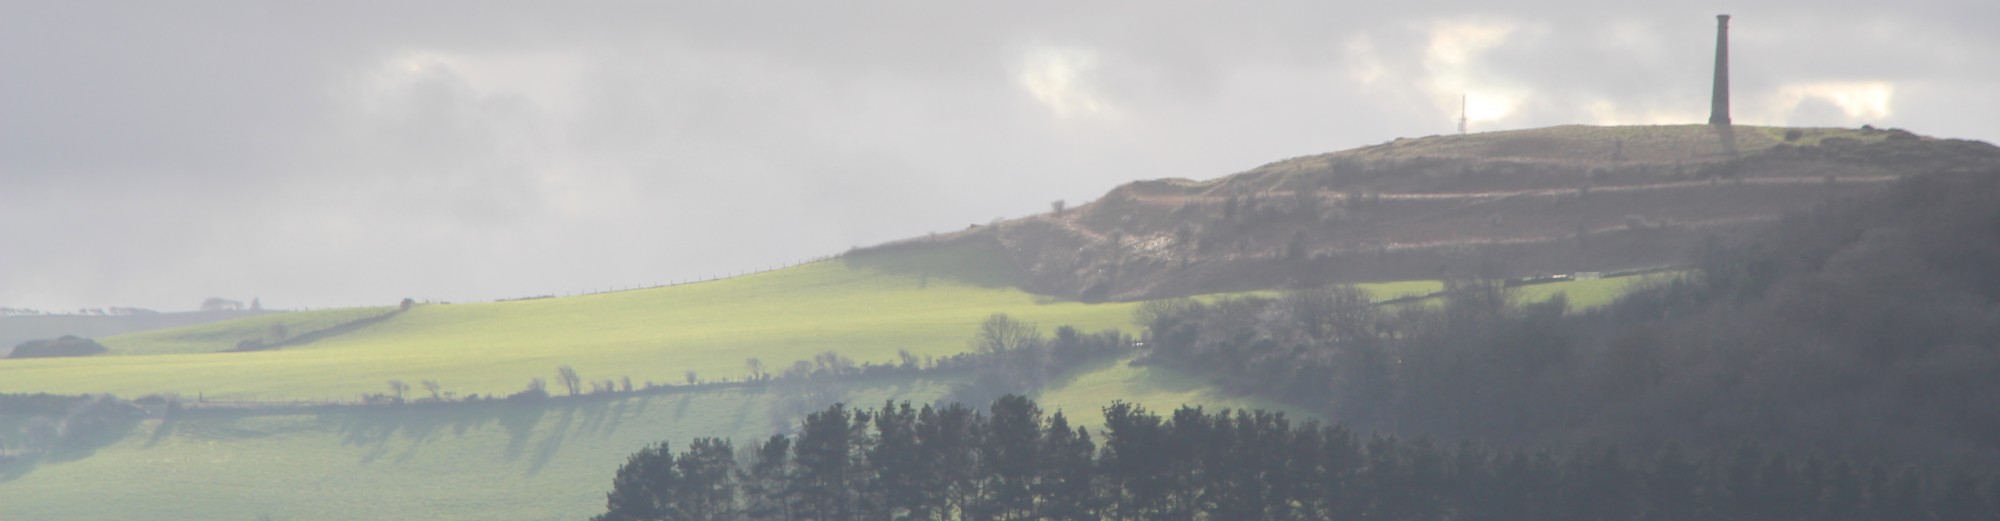
As new coats of gesso were applied, it was noticed that fragments had become embedded in the surface whilst drying overnight. During this period there was a large fire on Pen Dinas, it is highly probable that some of the smaller fragments discovered in the gesso, were the air borne result of this event. Some windows had been opened to deal with the heat of the fleeting summer.
http://www.bbc.co.uk/news/uk-wales-mid-wales-33585591
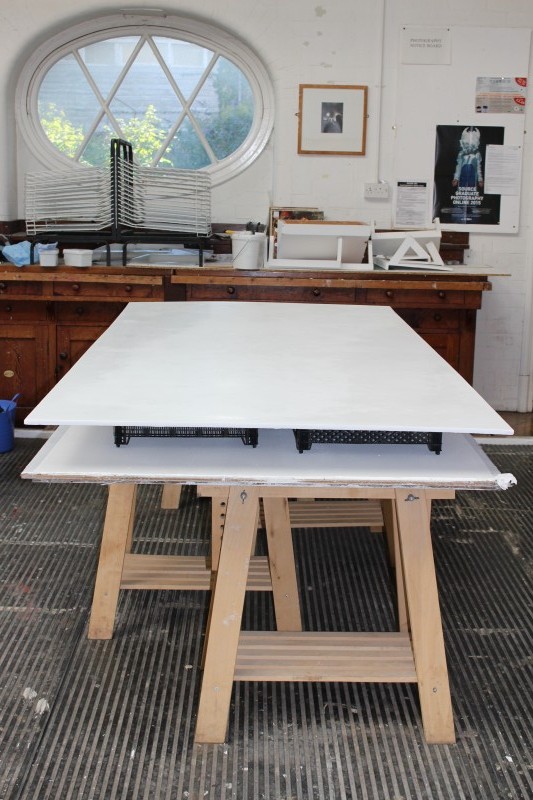
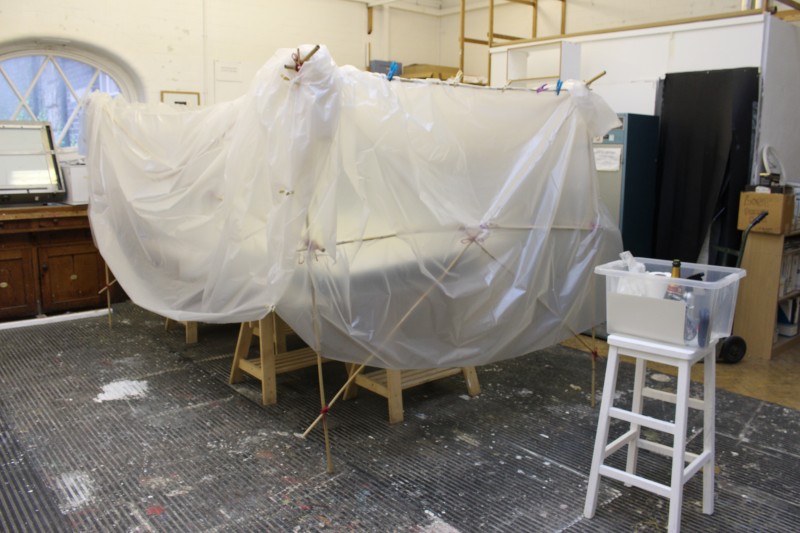
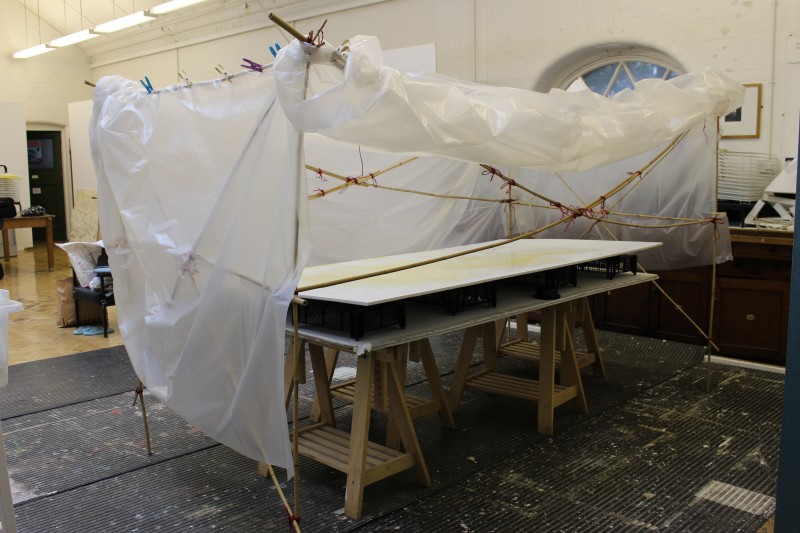
It was decided to polish out the most obvious and obtrusive and to construct a light, protective canopy to place over the drying gesso layers.

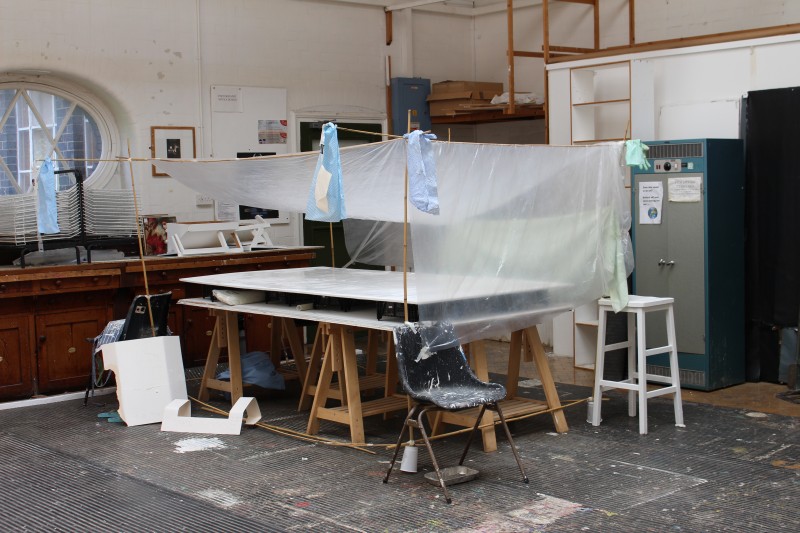
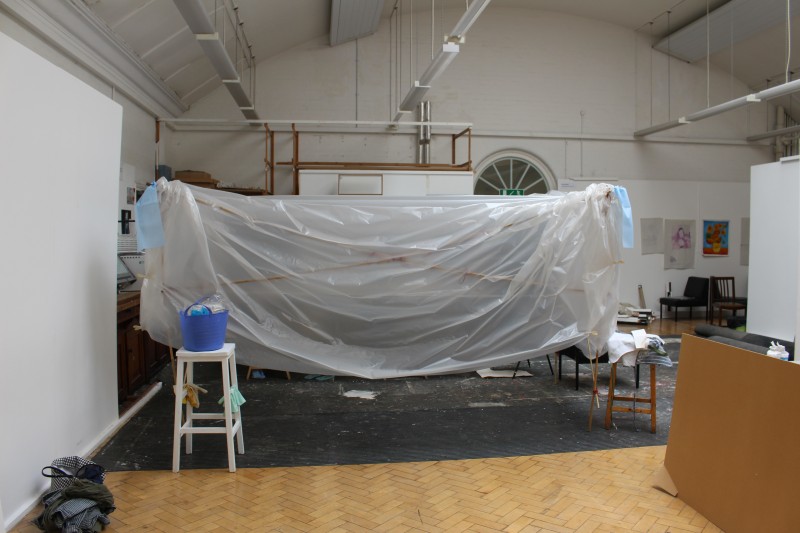
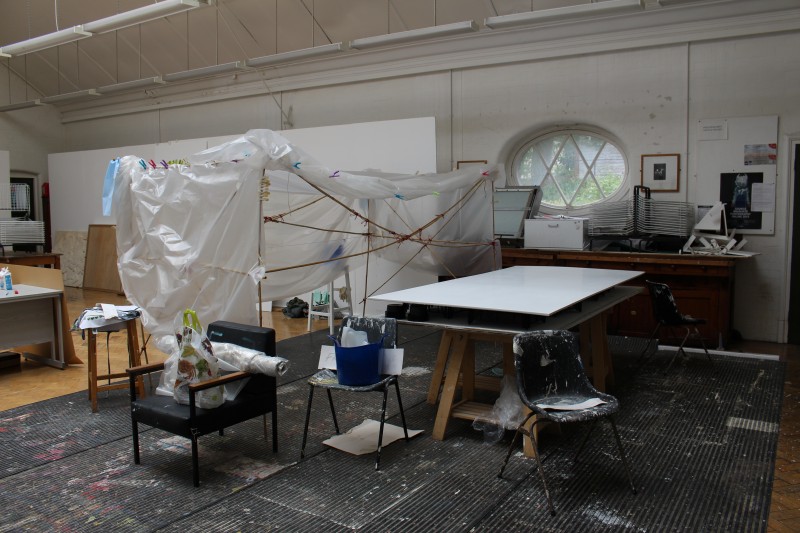
This did not prove to be successful, as it was noticed that the static nature of the thin polythene began to attract quite large flecks of air borne detritus from the studio itself. A heavier gauge polythene helped to partially resolve the problem. The new frame (constructed by Huw – diolch), was somewhat sturdier and this meant that the canopy could be moved aside for working purposes.
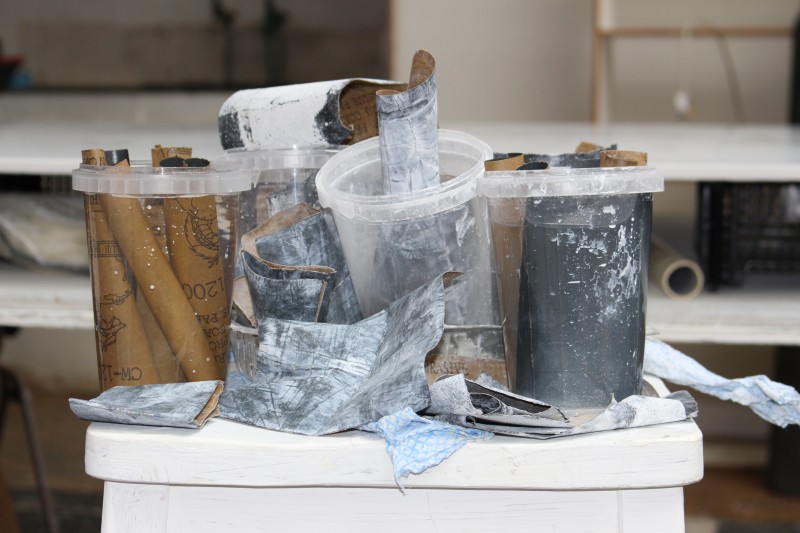
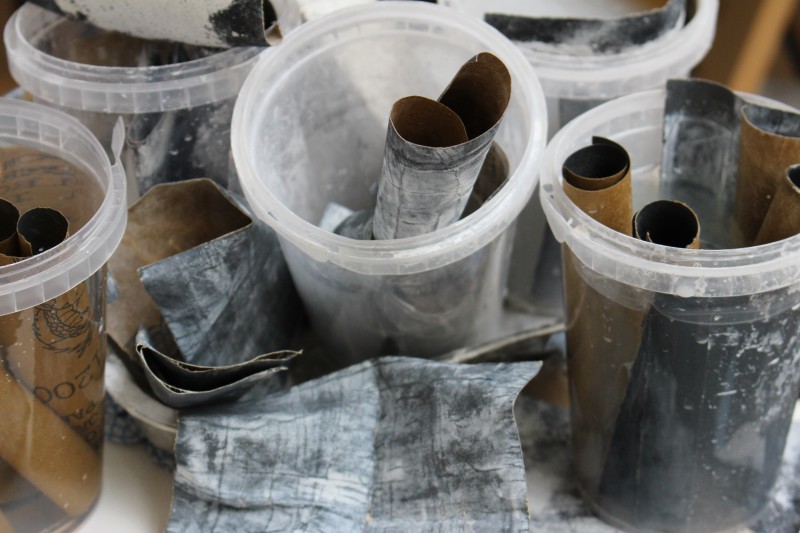
Due to these events and prior to the application of new gesso layers, much polishing was required. Approximately ten new coats of gesso were then applied, each layer being given a day to dry before a light, wet abrasion was carried out. The tools used were the same as those initially selected, but experience with the method now led to a slightly less messy working area.
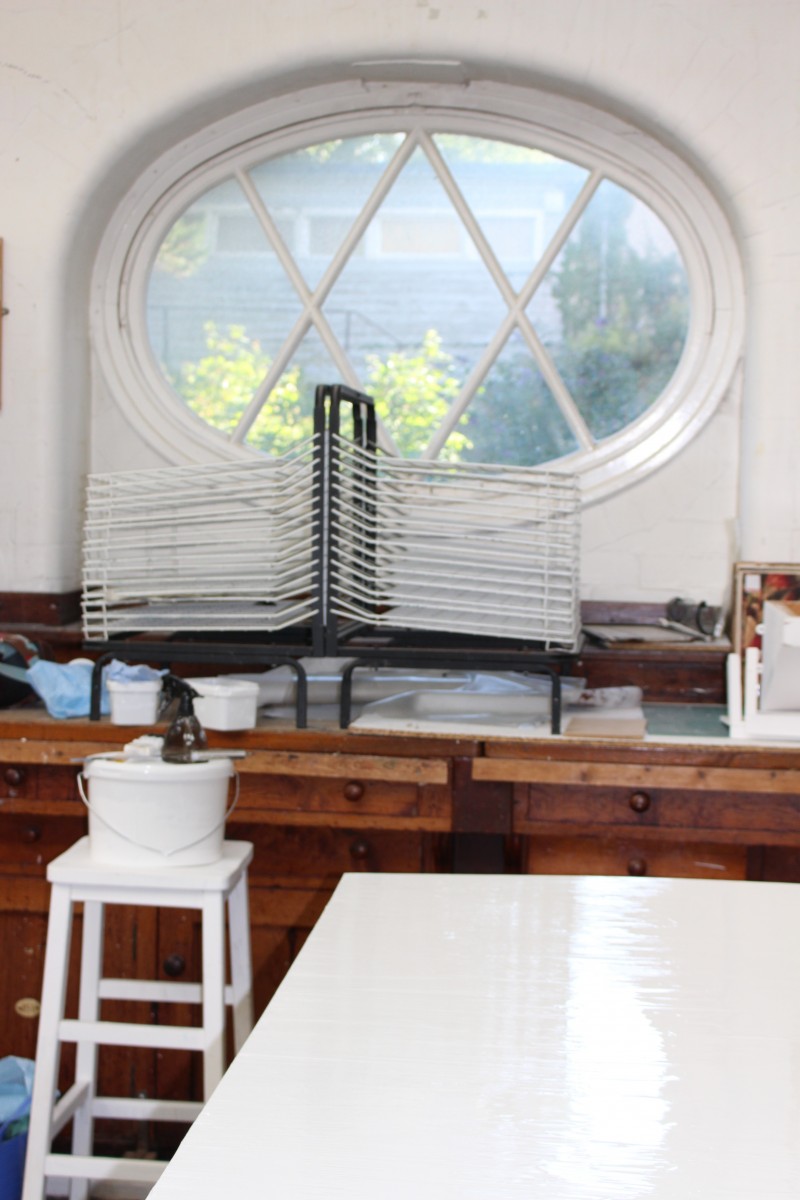
Several weeks of daily attention followed to produce the smooth surface necessary. This took longer and required more effort than had originally been envisaged, as the contents of a newly opened 5L bucket of gesso poured into the floor (the base having been damaged imperceptibly in transit). As much of the contents had to be thrown onto the board in an attempt to save as much of the gesso as possible, it really is still surprising that the surface turned out as well as it did.
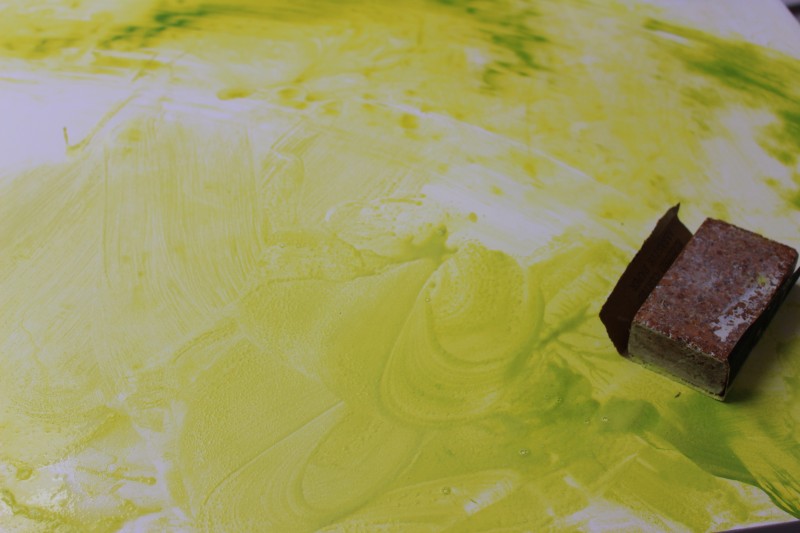
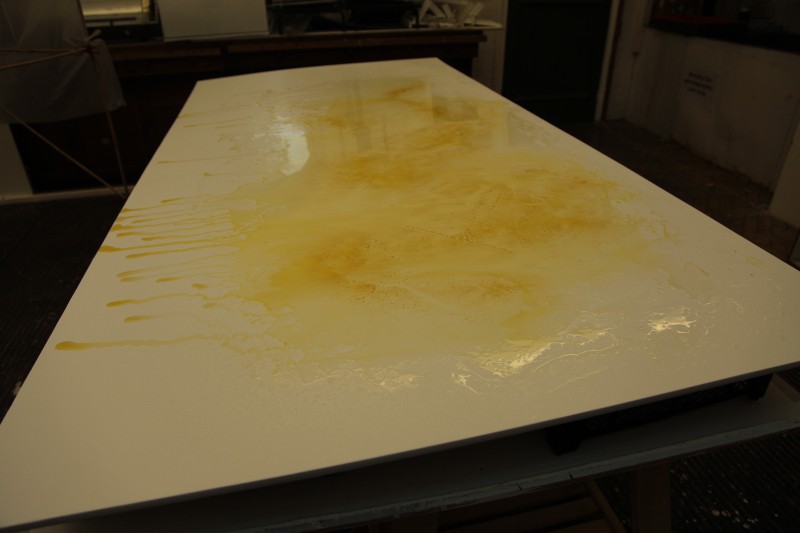
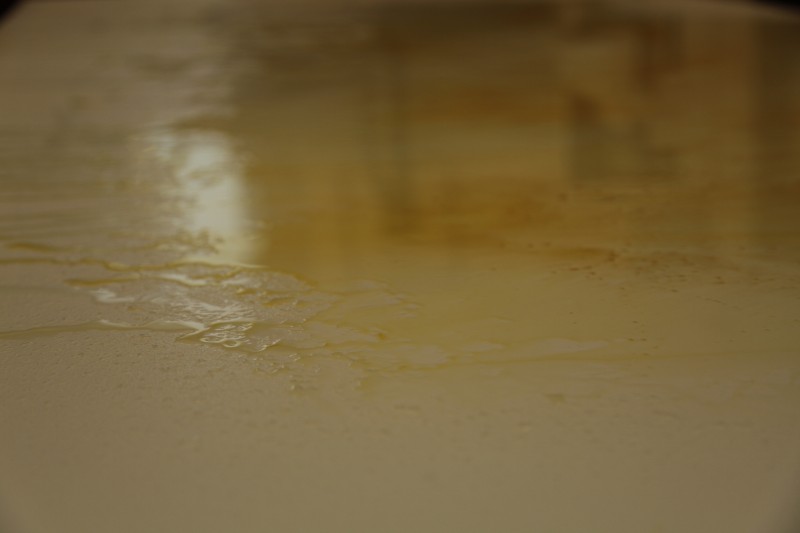
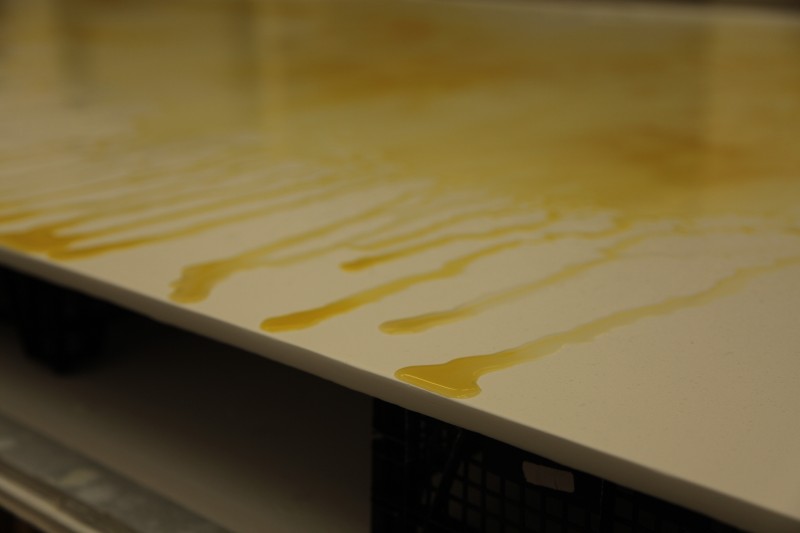
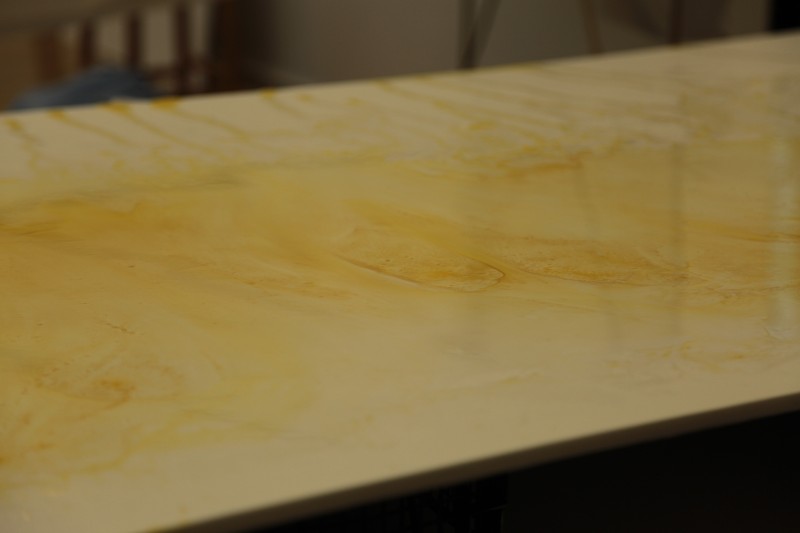
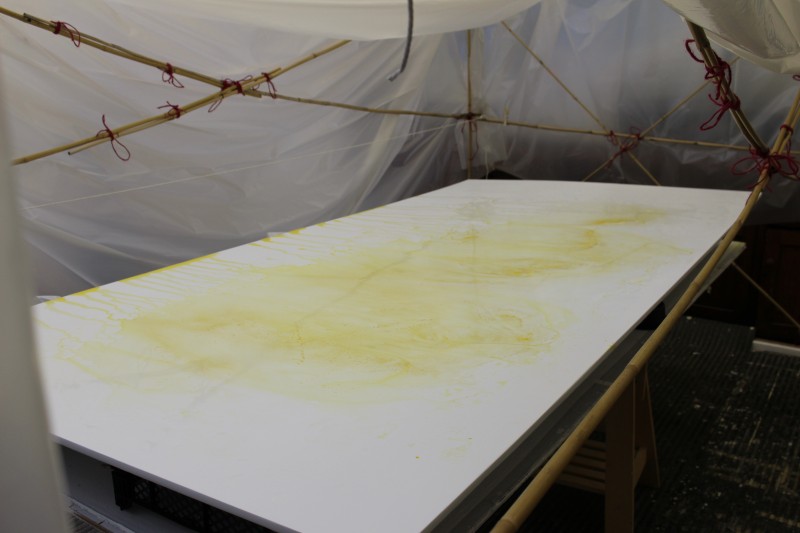
The pigment mix was applied and then processed in a manner which was intended to allow for the flow of the pigment to behave at random. The pigment flow would be affected by irregularities on the gesso surface and chemical reactions between the acrylic and champagne mix and any impurities present. The pigment mix may sound wasteful and decadent, but rather than waste champagne which had not been consumed, it was going to be turned into champagne vinegar. This having not having been carried out, the champagne had naturally become more acidic. The heavy background lacquer and background colour of the chosen acrylic (which often affected fluidity of surface movement), was quite difficult to wash out and whilst trying out different household substances and failing to find any vinegar in the house, stale champagne seemed the obvious choice! It was not completely successful, but at least it was adequate and produced an interesting result.
This is clip of the initial stage of pigment application and the beginning of processing it. Thanks must go to Miranda (again), for setting up the video, taking stills of the process and helping out.
Gestural movements employed within the practice, were based upon observational experiences of the spreading, scudding and tripping movements of light and shade on the landscape. Whilst originally instinctive, they were practised as dry-runs (hand movements over large table surfaces), prior to pigment application, as this was a precious moment – there being only one opportunity to carry out the actual painting. This together with Miranda’s presence built up a special story. Much has been gleaned from reviewing the recorded performance.
Two longer videos are available to view (upon request), of the whole of this session. Additional water and champagne was applied and lacquer removal continued. The treated surface was then protected by the canopy cover and allowed to dry thoroughly for several days.
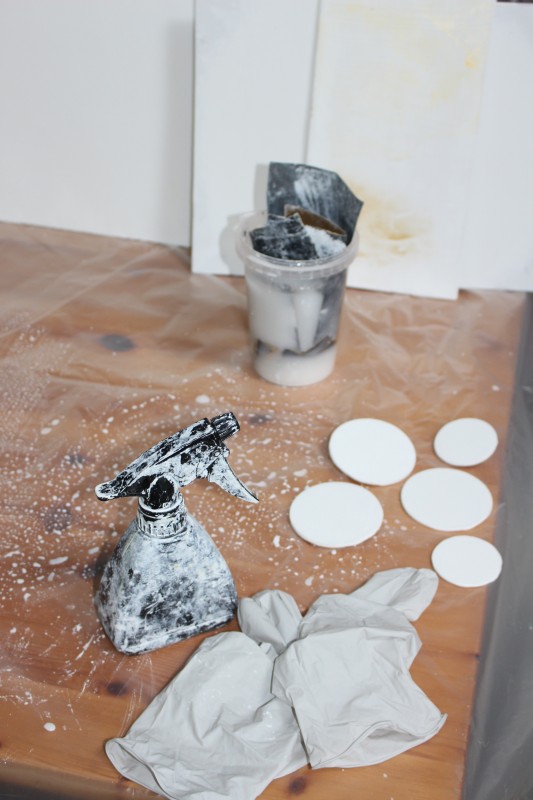
Whilst working on the large board, trialling continued on a much smaller scale at the home studio.
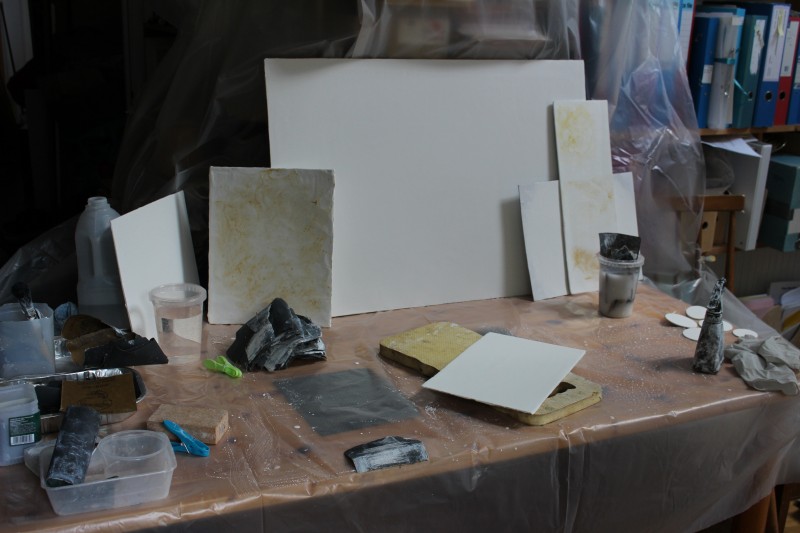
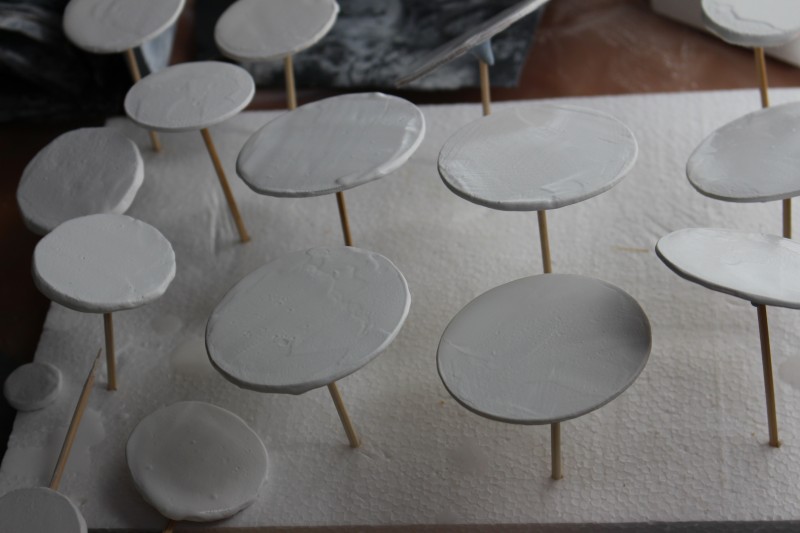
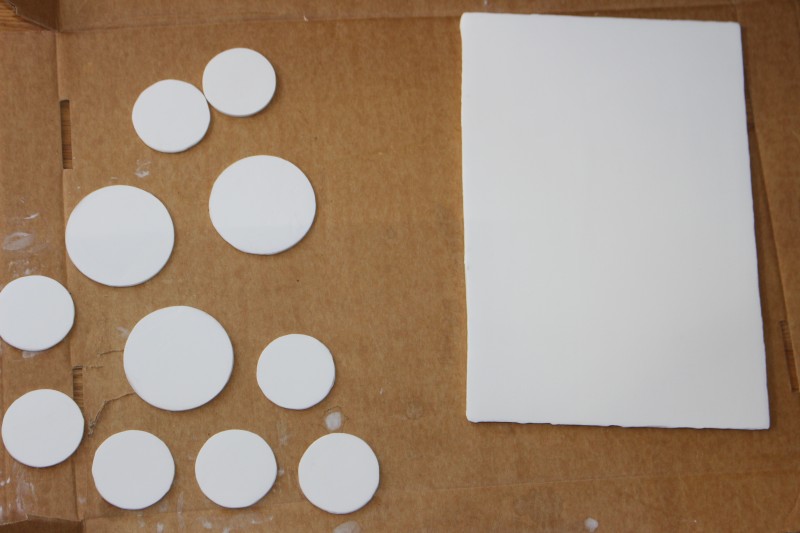
All parts of the process were messy and or space greedy, but the effort and time expended proved to be highly satisfying. The unpredictability of the outcomes and their light sensitive nature were a fruitful venture.
.